Wednesday, June 23, 2010

Flutter Book- Amber Fair


Japanese Flutter Book- (Posted by Amber Fair)

This one has already been described here. It is easy to figure out just by looking at pictures, but here are my instructions. It involves no sewing, and the pages are connected to each other by a thin strip of glue, which are then glued into the inside flaps of the cover.

Select your paper, (all must be same size) and fold each page in half.

Glue the fore edges of paper together using a thin strip of glue.

Cut out 4 pieces of book board, all the same size. They should be just slightly bigger (about 1/4th an inch on each side) than your paper sheets.

Take two of the pieces of book board and cut them slightly narrower than the other two. (how much you cut out depends on preference and the sizes of paper/book board you are using. I cut them 2 inches narrower on mine)

Take three pieces of book cloth and connect them, so you have 3 spines. The middle spine is wider than the two outside spines. The amount of space in between the book boards will vary depending on how much paper you used, and the thickness of the paper. Then cover it completely with paper like you would any other cover.

Last, glue the two outside fore edges into the inside of the two cover flaps, this is what holds your paper into the cover.

note: for a much easier cover, you can just take heavy paper and fold it.

Bradel Book

Instructions for the Bradel Book binding

Spine/ thin cover

Cut two pieces of thin board (chipboard or cardstock paper) exactly the same size.

They will be ½ inch longer (tall) than your text block, but 3/8 inch shorter (wide).

Spine is made out of the same material and will be the same height about a 1/2 inch wider than the spine of your text block (1/4 inch on both sides).

You will then glue the 3 pieces onto your spine cover (book cloth) leaving a ¼ inch in between for the hinge.

Outer cover

Book board should be cut into 2 pieces the same measurements as the cardstock pieces.

Covering- after you glue the main board onto the paper and are now starting on the left over sides (there should be about an inch of left over paper all around), glue down on the side that will be closest to the spine. All of the other 3 sides will be over lapped around both the book board and card stock, which will connect the pieces.

Thursday, April 8, 2010

O r i g a m i B o o k
By: christa strebel

Step 1: Cut long strips of paper and fold into 5 equal squares

Step 2: Fold top half right corner down to opposite left bottom corner.


Step 3: With the middle Box, take all of the left half of strip of paper down.


Step 4: fold the bottom box up to the second box above it on left side.

Step 5: Repeat step 4. Then Fold left box in on middle box, and
tuck right triangle in slit. Use for CD holder, note carrier, folder, etc:)

Wednesday, April 7, 2010

Flutter Book


To view the instructions I worked off of, click here!


Okay, I opted to make this book with two separate covers instead of a connected one, so it's a lot like an accordian book. If you make it with the connected cover, it should look a bit more like this.


The first step is to decide the size of your book. The paper will be the the same size of the cover, so the way I measured it was to put the book board on my paper, score it with the bone folder, and then cut it with my ruler and exacto knife.


Make sure when you cut each piece, make sure it's folded down the middle, so each piece will actually be twice as big as each cover.

Then you take each of your pages and glue the fore edges together!

Once you've got as many pages as you want, glue the first and last pages to the covers (like we did with the syllabus), and you're done! Have fun!

Tuesday, April 6, 2010


Sister Simpson, here's my box!
I tried to get one of the inside, but for some reason I can't download that one. :)
Amanda Smith

Just a reminder

Students,

Enjoy your last minutes of the Winter 2010 semester, the weather is helping us to remember.

Cheers

Sister Simpson

Folded Book with POCKETS!


Materials: paper, ruler, scissor/scalpel, other paper for cover.

With an 8.5 x 11 piece of paper, your book will turn out to be about 3 x 3.5”

The pages are folded a lot, so it turns out quite a bit smaller. Take that into account when judging paper dimensions.

To begin:

1. With the paper laying landscape, fold in half. (left to right)

2. Unfold, and then fold each left and right side into the middle crease.

3. Unfold.

4. Measure 1.5 inches from the top, mark lightly, and crease.

5. Cut out what now appears to be the marked “rectangles” on each left and right top corner.

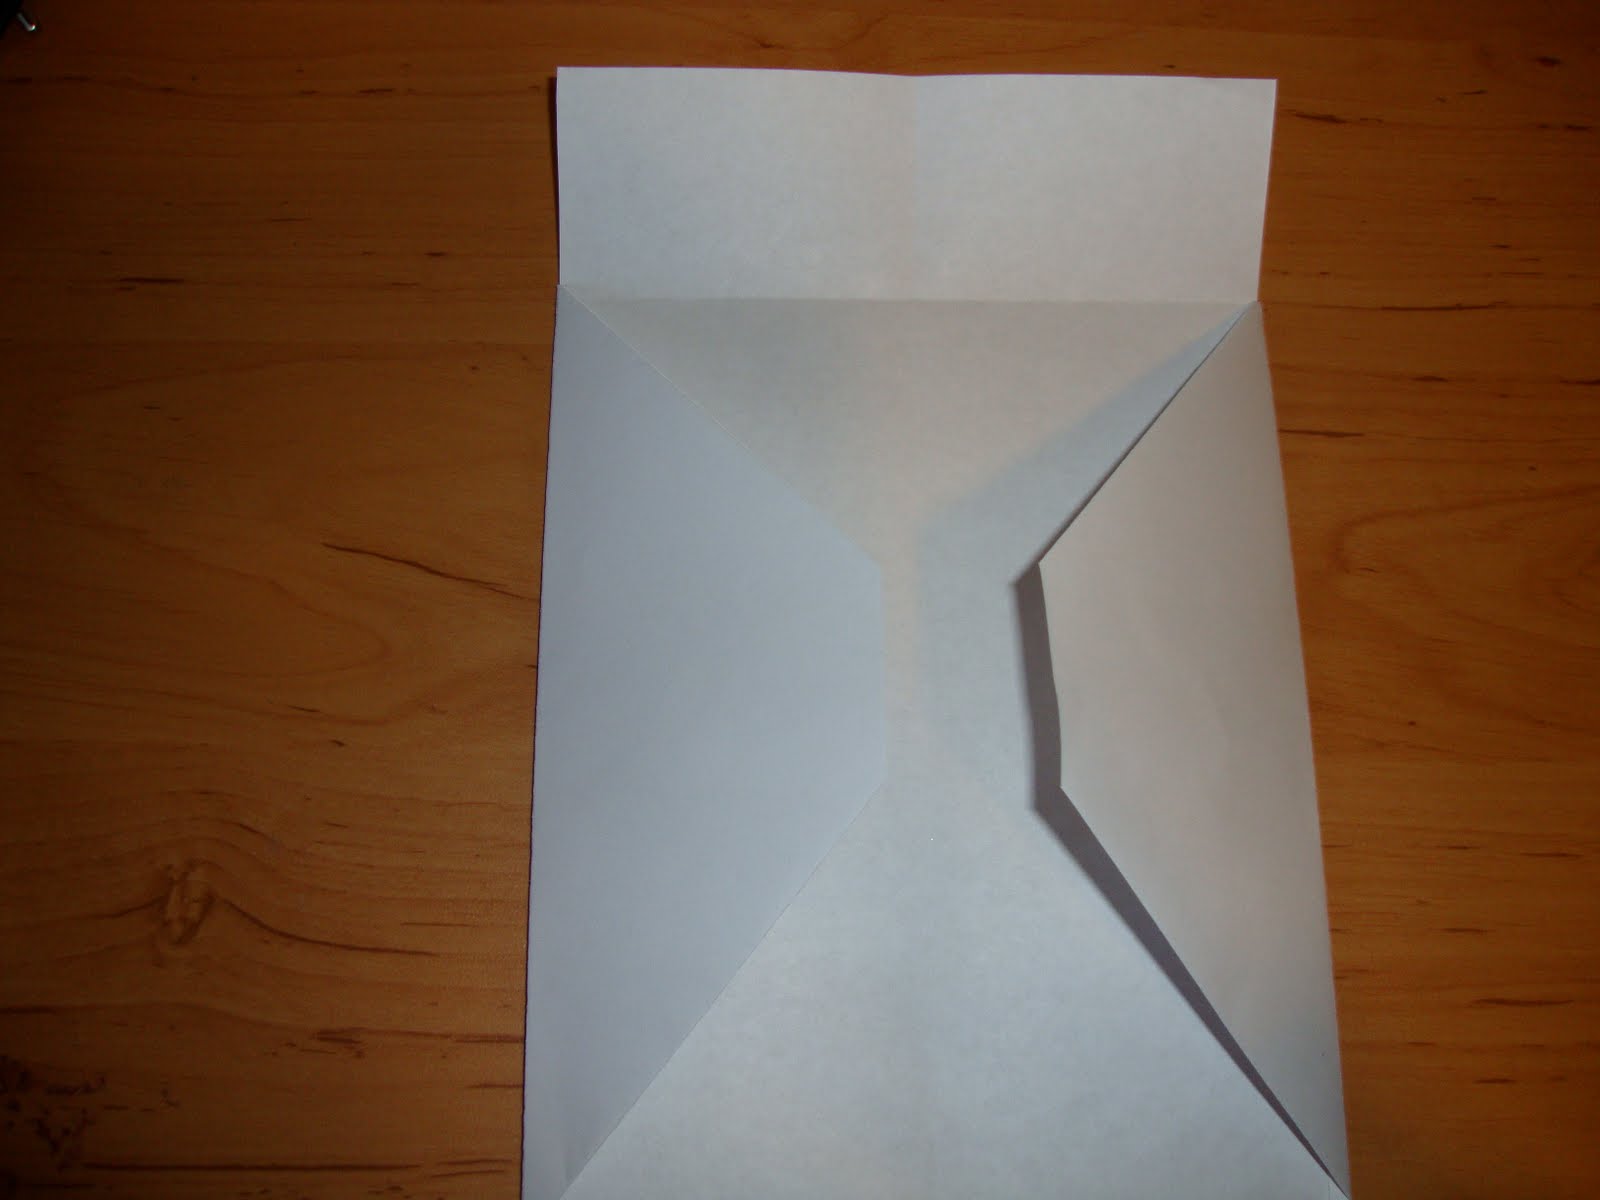
6. Fold all side corners so they align the outside creases.

7. Bring both side flaps with the folded corners, in to the middle crease.

8. Flip entire paper over.

9. Fold the paper in half, bringing the bottom up towards the top flap. Pockets should now be visible.

10. Secure top flap under the two exposed corners.

11. Fold entire sheet again in half –sideways you now have your spread with 4 pockets/pages.

Also – between the front and back of each page, is another pocket – between the pages. So much pocket fun!

Repeat steps for each folio.

To connect the pages---

Divide your pages in half – you’ll cut them differently.

For half of your pages, you’ll cut off the top corners:

Make marks one half inch down from the tail, and head.

For the other half, you’ll cut a triangle out of the middle fold:

To connect, simply roll or fold gently the pages with the top cut triangles, and slide them inside the missing-triangle-shaped others. Unfold, and wha-la! They’re connected.

Continue to attach other groups of 2 folios together, each to the last page of the previous.


Attach cover any way you see fit – I glued a soft paper to the outside of the book… it’s a organic, fun kind of book – the soft cover seems fitting.

Then, fill the pockets with all the little things you need to keep track of! (perfect for stamps or business cards)